
Key Takeaways
- Thoroughly inspect roof for damage and ensure structural soundness before installation.
- Use proper tools and materials for efficient and effective installation.
- Lay metal shingles or shakes in rows from bottom to top following manufacturer’s instructions.
- Secure shingles with appropriate fasteners and ensure proper ventilation under shakes.
- Finish with trim, flashing, and attention to details for durability and aesthetics.
Roof Preparation
To guarantee a smooth and successful installation process, we recommend thoroughly inspecting the roof for any existing damage or issues before starting the installation of metal shingles and shakes in Tustin, CA. Begin by examining the entire roof surface for signs of wear, leaks, or structural problems. Look for any loose or damaged shingles, shakes, or underlayment that may need replacement or repair. It’s essential to make sure that the roof is structurally sound and able to support the new metal roofing materials.
Next, check for any areas that may need reinforcement or additional support to accommodate the weight of the metal shingles or shakes. Address any underlying issues promptly to prevent future complications. Additionally, inspect the roof for proper ventilation and drainage to maintain the longevity of the metal roofing system. Adequate ventilation will help prevent moisture buildup and potential damage to the roof structure.
Required Tools and Materials
Gathering the necessary tools and materials is essential for a successful installation of metal shingles and shakes in Tustin, CA. To begin, you’ll need safety equipment such as gloves, goggles, and a hard hat to protect yourself during the installation process. Additionally, you’ll require basic tools like a tape measure, chalk line, hammer, utility knife, and tin snips for cutting the metal shingles to size.
For the installation itself, you’ll need roofing underlayment, metal shingles or shakes, ridge cap shingles, roofing nails, and screws. It’s also important to have a ladder, preferably a sturdy extension ladder, to safely access the roof. A cordless drill with a magnetic hex head driver will be handy for securing the metal shingles in place efficiently. Finally, a roofing nail gun can greatly speed up the installation process, although a hammer can also be used if needed.
Ensuring you have all the necessary tools and materials beforehand will streamline the installation process and help you achieve a professional and durable metal shingle or shake roof.
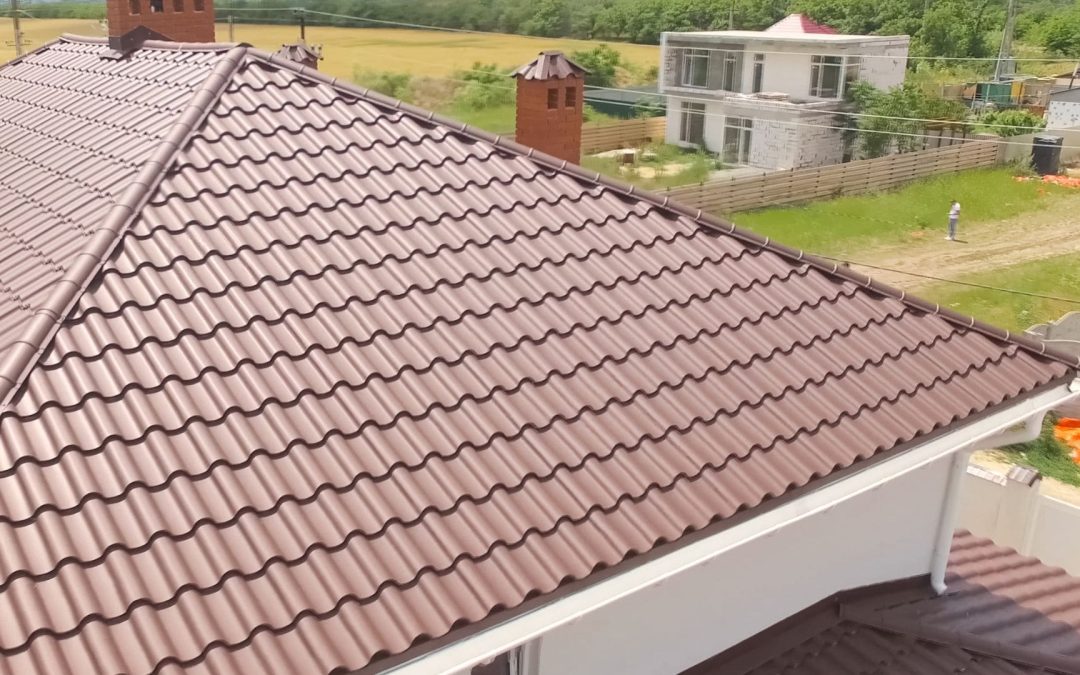
Installing Metal Shingles
Before we address the installation of metal shingles, let’s make sure we’ve all the necessary tools and materials ready for the task in Tustin, CA. You’ll need the following items: metal shingles, roofing underlayment, drip edge, flashing, roofing nails, a nail gun, a tape measure, tin snips, a chalk line, and safety gear such as gloves and goggles. Once you have gathered everything, it’s time to begin the installation process.
Start by preparing the roof surface, making certain it’s clean and free of any debris. Next, install the roofing underlayment to provide an extra layer of protection against water infiltration. Begin laying the metal shingles from the bottom of the roof, working your way up in rows. Secure each shingle with roofing nails, making sure to follow the manufacturer’s instructions for proper placement.
Continue this process until the entire roof is covered with metal shingles. Finally, install the flashing and drip edge to complete the project. Remember to always prioritize safety and take your time to ensure a job well done.
Installing Metal Shakes
We approach installing metal shakes by meticulously aligning each piece to guarantee a snug fit that enhances the overall durability and aesthetic appeal of the roof. Metal shakes are a popular roofing option due to their longevity and resistance to elements like fire, wind, and hail.
Before installation, it’s important to prepare the roof deck by ensuring it’s clean, dry, and free of any debris. Starting at the eaves, we carefully place each metal shake, ensuring they overlap correctly to prevent water infiltration.
Using corrosion-resistant fasteners, we secure the shakes to the roof deck, making sure they’re firmly attached but still allow for expansion and contraction. Proper ventilation under the shakes is essential to prevent moisture buildup and prolong the life of the roof.
Once all shakes are installed, a final inspection is carried out to confirm alignment and fastening, ensuring a high-quality finish that will protect the home for years to come.
Finishing Touches
To enhance the durability and aesthetics of the metal roof, attention to finishing touches such as trim installation and edge flashing is vital. Trim installation involves placing pieces along the roof’s edges and corners to provide a clean, finished appearance. These trims also help prevent water infiltration and protect vulnerable areas from environmental elements. When installing trims, make sure they’re securely fastened and properly aligned for a professional look.
Edge flashing is another essential detail in completing a metal roof installation. This component goes along the edges where the roof meets the walls or other structures, preventing water from seeping into the underlying layers. Properly installed edge flashing not only enhances the roof’s waterproofing capabilities but also adds a polished look to the overall design.
Frequently Asked Questions
Can Metal Shingles or Shakes Be Installed Over Existing Asphalt Shingles?
Yes, metal shingles or shakes can be installed over existing asphalt shingles. It is important to verify that the roof can handle the additional weight and that the surface is smooth and in good condition for proper installation.
How Do I Prevent Metal Shingles/Shakes From Making Noise During Heavy Rain?
To keep metal shingles or shakes quiet during heavy rain, we recommend ensuring proper installation with a solid substrate, using noise-reducing underlayment, and examining the fastening technique for any loose components that might cause noise.
Is It Necessary to Use a Special Underlayment for Metal Roofing Installation?
Yes, it’s essential to use a special underlayment for metal roofing installation. This layer provides added protection against moisture and helps regulate temperature. Skipping this step could lead to leaks and damage. It’s a critical part of the process.
Can Metal Shingles/Shakes Be Painted or Customized to Match the House’s Color?
Yes, metal shingles and shakes can be painted or customized to match the house’s color. This process involves preparing the surface properly, using the right type of paint, and following the manufacturer’s guidelines for a durable finish.
What Is the Average Lifespan of Metal Shingles Versus Metal Shakes?
Metal shingles typically last around 50 years, while shakes can endure for about 30 to 40 years. The key is proper installation and maintenance. Shingles offer longevity, shakes bring a rustic charm. Choose wisely for lasting beauty.
Conclusion
After completing the installation of metal shingles and shakes, we can confidently say that we’ve mastered the art of roofing. Our attention to detail and precision in every step of the process has resulted in a roof that not only looks stunning but also provides unmatched durability and protection.
With our expert skills and dedication, we’ve set a new standard in metal roof installations.
Recent Comments